Basketball Court Stencil Kits: Concrete, Asphalt, Paint and Best Brands
My neighbor used a basketball court stencil kit on his concrete driveway and I would have to say I was a little jealous. We would occasionally use the sidewalk chalk to put in a 3 point line or free throw line but that was it.
Well, I didn’t want to ask “how much” so I started doing the research. There are a lot of options out there — from hiring a basketball court designer to buying expensive stencils and spray paints. In this article, we’ll cover the best basketball court stencil kits available and provide some tips on how to save money on your project.
Stencil Kit For Basketball Court Brands
Ronan’s Easy Court Premium Basketball Court Marking Stencil Kit
Ronan has been manufacturing Sports stencils in Southern California for almost 20 years. Their method of stenciling with “pizza box type cardboard” gives you a clean line to follow. They have two lines of their product. The Complete Easy Court Stencil does not have continuous lines. Their Pro Kit stencil set does have continuous lines and is at a higher price point.


This 3-minute instructional video gives you an overview of the steps to use their pro stenciling kit.
First Team Basketball Court Stencil Kit
The First Team Basketball Court Stencil Kit includes everything you need to make a regulation basketball court on your driveway or in your backyard. First Team Basketball Court Stencil Kit is a set of six interlocking stencils that can be used to create a basketball court on any hard surface. The stencils are all numbered to make them easy to put together. It includes a pre-cut basketball court stencil of a regulation lane, free throw line, key, and the 3-point line.
See the assembly instructions here.
- 100% Satisfaction Guarantee
- Works on cement or blacktop
- Includes 3-point line

Spalding Basketball Court Marking Kit
The first thing I want to make clear is that this is not a permanent marking kit. It is a much lower-priced option (under $10). We did find purchasers that used the basketball template provided and then painted the lines for a more permanent court. This kit will get you up and running quickly. It may be a good option if you have to have your hoop in the street and can’t make permanent marks.
- Includes lane, free throw line and high school 3-point line
- Washes off easily with water
- Jumbo chalk included

Spalding also has a fun-looking glow in the dark version of their marking kit. We found this unboxing review that I thought was helpful and demonstrates the contents of the package. In the video below at about the 5-minute mark (I have it forwarded to that spot, just press play), you can see how they used a basketball court stencil set to make the lines on their court. It is pretty interesting to see their court to go from a slab to fully trimmed out.
Murray Sporting Goods Basketball Court Marking Stencil Kit
This kit by Murray will give you a high school basketball court set up in your driveway. It is a complete court (half-court replica. The cardboard is thick enough you won’t need tape to make it stick. It has easy to use “puzzle-piece” connectors. It should take you 15-20 minutes to lay out the cardboard stencils and another 10-15 minutes to paint it. Then let it dry for 30 minutes or so your basketball court is ready for play.
- Regulation size high school basketball complete court stencil set
- Great looking court
- Includes basektball court key
- Cardboard stencil (49 pieces)
- Thick-style pizza box cardboard

Basketball Court Stencil Kit For Concrete
All of the basketball stencil courts featured above can be used on concrete. In most cases, the kits don’t come with paint. You will want to do further research on what type of paint may be best for your concrete pad or driveway.
Use a 2″ wide paint roller or spray paint. Here are a couple of brands that may work for you:
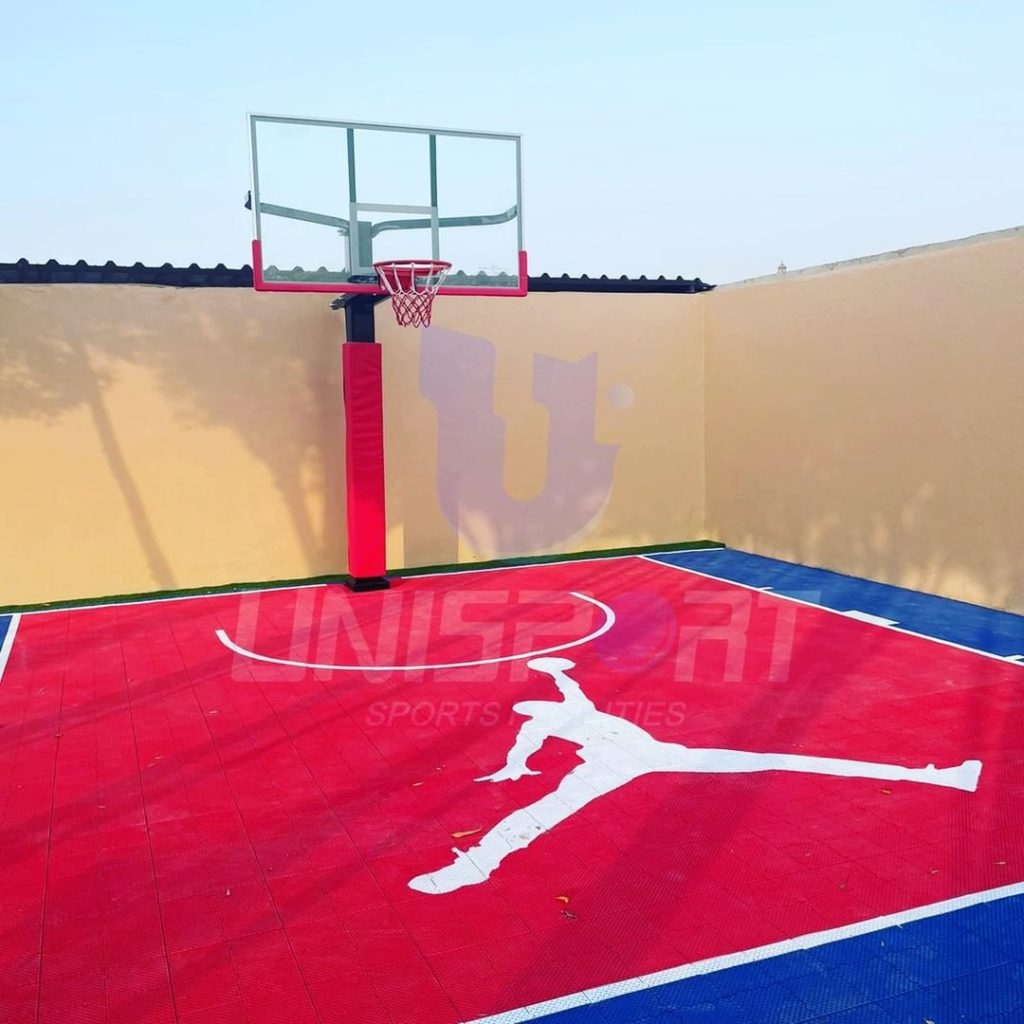
Basketball Court Stencil Kit For Asphalt
Similarly, the basketball stencil courts can be used on asphalt as well. In most cases, the kits don’t come with paint. You will want to do further research on what type of paint may be best for your asphalt pad or driveway.
Acrylic paint is used by many asphalt professionals. It is water-soluble and polymer-based to keep the lines from washing off the asphalt. It won’t damage asphalt and can be applied with brushes, rollers, or spraying equipment. Acrylics are more expensive than other paints.
Tips for Maintaining Your Painted Court
A well-maintained court is a joy to play on. Here are some tips:
- Protective Coatings: After painting, consider a protective coating. It adds to the longevity of your markings.
- Cleaning: Use mild detergents and a soft brush to clean the court. Avoid power washing, as it can fade the paint.
- Repainting: Depending on use, consider touch-ups or repainting every year or two.
- Weather Protection: Use sealants to protect the paint from rain or snow. If you’re in an area with extreme weather conditions, consider court covers.
Basketball Court Stencil Paints
Here are a couple of brands that may work for you:
What is a Basketball Court Stencil Kit?
A basketball court stencil kit is essentially a set of templates that help you paint the standard markings on a basketball court. Think of it as a massive ruler or guide but for a whole basketball court. Within a standard kit, you’d find:
- Free throw lines: Crucial for practicing those game-winning shots.
- Three-point lines: Because we all love those long-range buckets.
- Key areas (or the paint): The lane area where a lot of the action happens.
Benefits of Using a Stencil Kit
Precision and Accuracy: One of the primary benefits is the precision. With a stencil kit, you ensure that every marking is where it should be. No more guessing or tedious measurements.
Time-saving: Setting up court markings manually can take forever. A stencil speeds things up considerably.
Professional Appearance: Using a stencil kit gives your court a professional touch. It looks clean, neat, and game-ready.
Durability: Most stencil kits are designed to last. So, once you paint over them, these markings can stay visible for a long time.
How to Choose the Right Basketball Court Stencil Kit
When it comes to choosing a kit, several factors come into play:
- Size of your court: There are kits designed for full courts and half courts. Choose based on your available space.
- Material: Look for kits made from durable, slip-resistant materials.
- Brand reputation and customer reviews: A quick online search will reveal top brands and user experiences.
- Compatibility: Ensure the kit is compatible with your court’s surface, be it asphalt or concrete.
- Extra features: Some kits come with number stencils or even spaces for team logos.
Step-by-Step Guide to Using Your Stencil Kit
Here’s a simple guide to get your court game-ready:
- Prepare the Court Surface: Start by cleaning the surface. Make sure it’s free from debris and dry.
- Lay Out the Stencil: Carefully lay out the stencil on the court. Use weights or tapes to prevent it from moving.
- Prepare the Paint: Opt for court-specific paint. It’s durable and usually non-slip.
- Painting: Use a roller or spray paint to go over the stencil. Make sure to apply evenly for sharp lines.
- Let it Dry: Once done, let the paint dry thoroughly. This might take anywhere from a few hours to a day, depending on the paint.
DIY vs. Professional Installation
Deciding between a DIY or professional installation? Here’s a quick comparison:
| Aspect | DIY | Professional |
|---|---|---|
| Cost | Usually cheaper | Can be expensive |
| Time | Depends on your pace | Faster (They’re experts!) |
| Precision | Good (with a stencil kit) | Excellent |
| Effort | Requires effort and time | Minimal (You’re hiring!) |
For many, the DIY route with a stencil kit offers a fun project and a sense of accomplishment. But if you’re short on time or want absolute perfection, consider hiring a professional.
Conclusion
A basketball court stencil kit can truly elevate your home basketball experience. It ensures accuracy, saves time, and gives your court a professional touch. Whether you’re a DIY enthusiast or considering professional help, a stencil kit is a game-changer. If you want to add a great low-cost training tool to your new court take a look at our article on SKLZ shooting spotz. They are great for running all kinds of youth basketball drills. Check out our post on Pickleball stencil kits as well.

Troy Wallace
Troy Wallace is Certified Basketball Speed Specialist and shares his experiences in trying to stay as healthy as possible to stay on the court. He is active in coaching youth basketball in YMCA, Team Work Sports Nebraska, and, currently, in the Jr. Warriors program in Omaha, NE. Visit Troy's Full Author Bio Page or email him directly.
Meaningful conversations happening daily about training, recovery, and injury-specific rehabilitation as well as sport-specific discussions on playing, coaching and refereeing your favorite sport. We welcome experts and those with curious minds seeking answers.
Join The Stay On The Court Community!